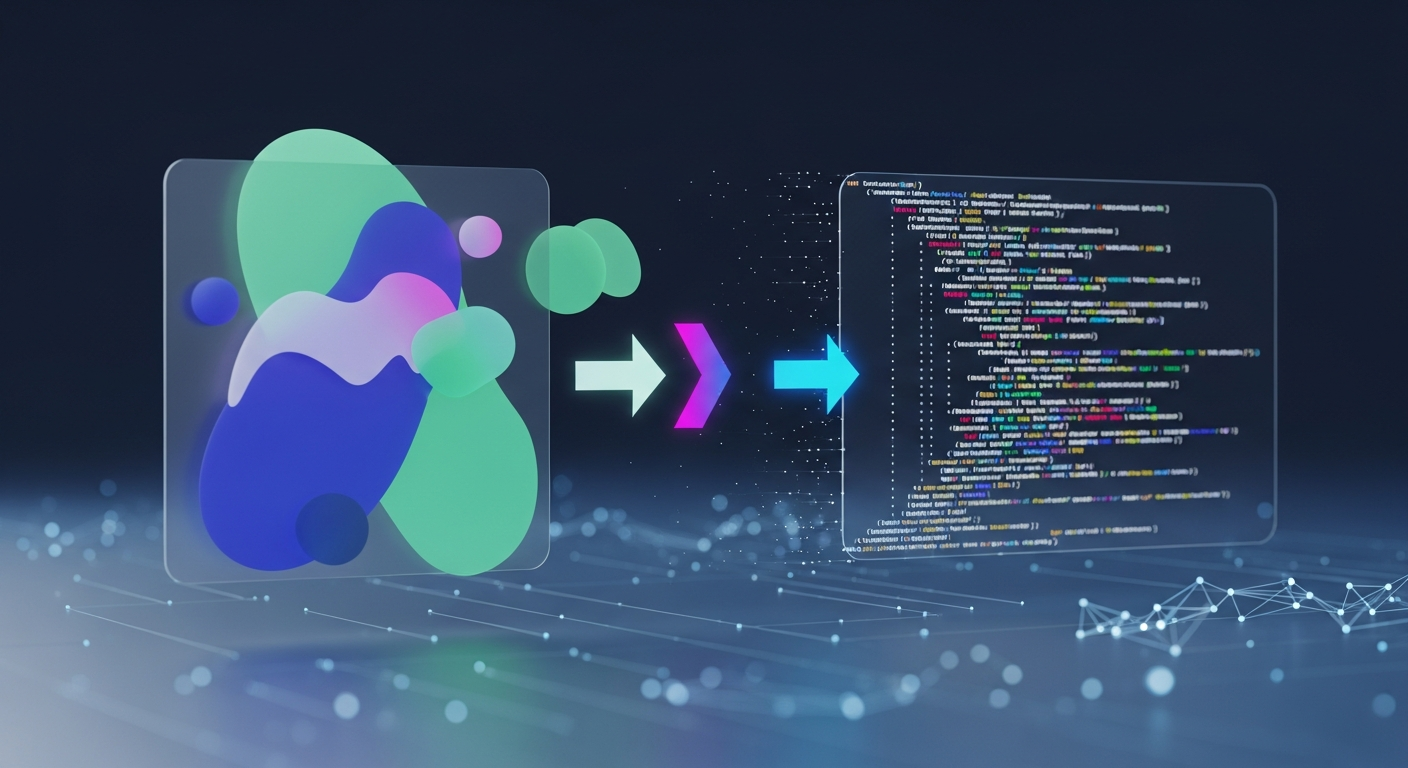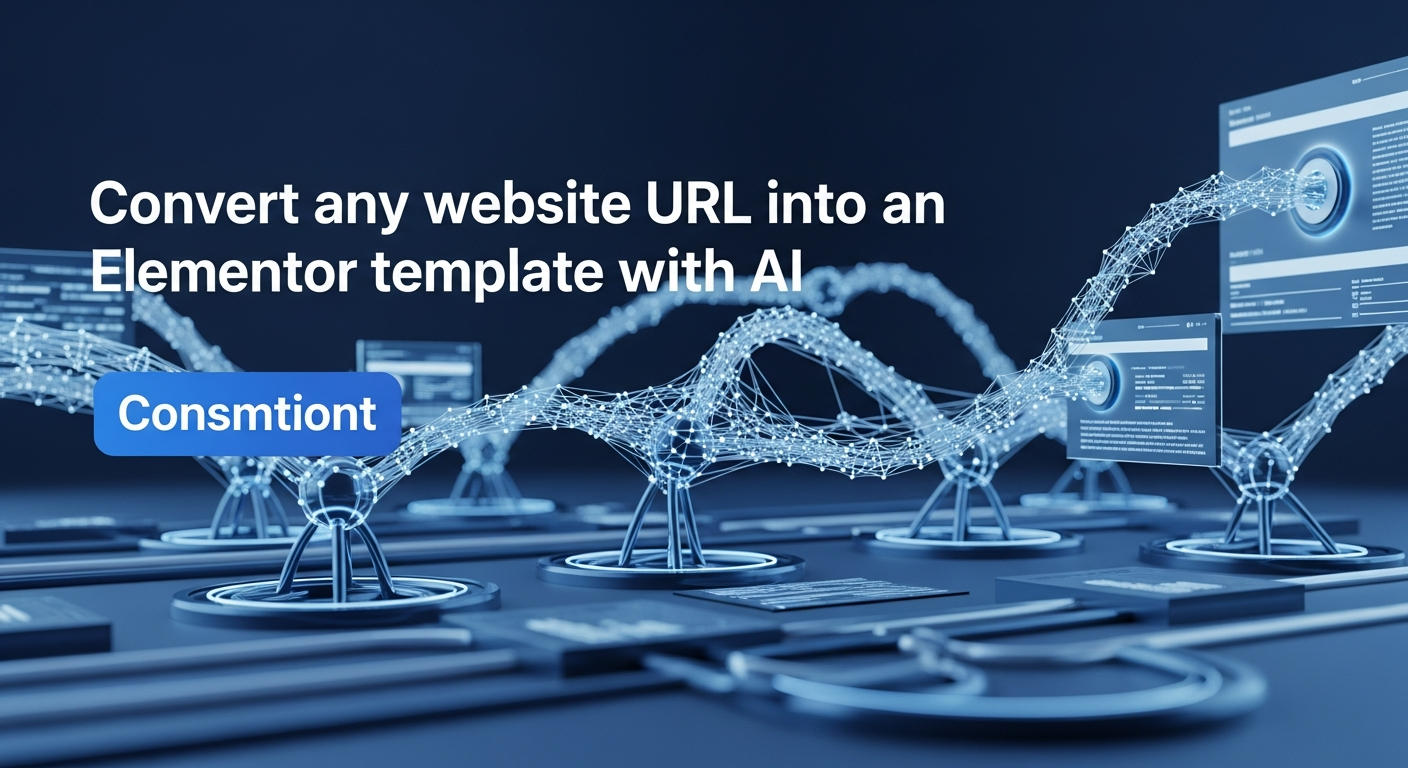
Manually rebuilding a website’s design in WordPress, even with a powerful page builder like Elementor, can be a tedious and time-consuming process. Developers and designers spend countless hours meticulously recreating layouts, matching styles, and ensuring responsiveness. What if you could automate this entire front-end workflow? Thanks to advancements in AI, you can now convert any existing website URL directly into a functional Elementor template in minutes, not days.
This guide provides a comprehensive, step-by-step tutorial on using DesignToCodeAI to transform a live website into a high-fidelity Elementor template. We’ll cover everything from initial setup to refining the output and importing the final file into your WordPress site. This powerful URL-to-Elementor feature, a key part of the latest platform updates, is set to revolutionize how agencies, freelancers, and developers approach redesigns, migrations, and rapid prototyping.
Converting a URL to Elementor: The Short Answer
Using DesignToCodeAI, you can convert a website URL to an Elementor template in four main steps: 1) Paste the website URL as the input source. 2) Configure the output to ‘Elementor Template’ and select your desired iterations. 3) Generate the template and use the live preview and text prompts to refine it. 4) Download the final .json file and import it directly into your WordPress Elementor library.
Table of Contents
- What is DesignToCodeAI?
- 4 Key Benefits of a URL to Elementor Workflow
- Prerequisites: What You’ll Need to Get Started
- How to Convert a URL to an Elementor Template in 6 Steps
- How to Import Your AI-Generated Elementor Template into WordPress
- Expert Tips for Achieving Pixel-Perfect Results
- Understanding the Technology: How the Multi-Agent AI System Works
- Frequently Asked Questions
What is DesignToCodeAI?
DesignToCodeAI is an AI-powered platform designed to automate the conversion of visual designs into production-ready code. It acts as a bridge between design concepts and functional web elements, dramatically accelerating the development workflow. The platform leverages a sophisticated multi-agent AI system where specialized AI agents collaborate to analyze, convert, review, and optimize designs with remarkable precision.
The system accepts a wide range of inputs, making it incredibly versatile for different project needs:
- Design Images: Upload screenshots or exported images (PNG/JPG) from tools like Figma, Sketch, or Adobe XD.
- Figma URLs: Directly paste a Figma design link for seamless integration.
- Website URLs: Provide the URL of any live website to use as inspiration, for a redesign, or to convert its structure directly into code.
From these inputs, DesignToCodeAI can generate two primary output formats: clean, semantic HTML with integrated Tailwind CSS, or a ready-to-import Elementor Template JSON file. This dual-output capability makes it an indispensable tool for both custom-coded projects and WordPress-based development.
4 Key Benefits of a URL to Elementor Workflow
Converting a website URL to an Elementor template is more than just a technical novelty; it unlocks significant efficiencies and strategic advantages for web professionals. By automating the foundational structure and styling, you can reallocate your time toward more valuable tasks like UX improvements, custom functionality, and client strategy.
Unlocking Rapid Prototyping and Inspiration
Found a website with a brilliant layout or a unique component? Instead of trying to recreate it from scratch, you can use its URL to generate an Elementor template instantly. This allows you to deconstruct its design, experiment with its structure, and adapt its best ideas into your own projects in a fraction of the time.
For example: A competitor launches a new pricing page with an innovative comparison table. You can convert that URL to an Elementor template to quickly understand its structure and adapt a similar, improved version for your own site without hours of manual coding.
Streamlining the Redesign Process for Existing Sites
When a client requests a redesign, the first step is often rebuilding the existing site’s content and structure in a new environment. The URL-to-Elementor feature automates this entire baseline process. You can generate a template of the old site, import it into a staging environment, and begin applying new branding, content, and layout improvements immediately, saving days of manual work.
Imagine a client’s site is on an old platform. Instead of spending 10+ hours manually rebuilding the homepage layout in Elementor, you generate the baseline template from the URL in 15 minutes. Your team can then immediately start applying the new brand identity and improving UX, rather than just recreating the old structure.
Migrating Legacy Websites to WordPress and Elementor
Moving a static HTML site or a website built on an outdated CMS to WordPress can be a daunting task. DesignToCodeAI simplifies this migration by allowing you to convert the legacy site’s public-facing pages into Elementor templates. This preserves the front-end design while empowering you or your client with the flexibility of Elementor’s drag-and-drop editor for future updates.
For instance, a local business has a 5-page static HTML site from 2010. You can convert each page URL into an Elementor template, import them into a new WordPress install, and have the entire site structure rebuilt and ready for content updates in under an hour.
Accelerating Client Project Timelines for Agencies and Freelancers
In a competitive market, speed is a critical advantage. This technology enables you to deliver functional prototypes and first drafts to clients with unprecedented speed. By drastically reducing front-end development time, you can handle more projects, increase profitability, and exceed client expectations with faster turnaround times.
Consider an agency pitching a new client. During the proposal phase, they can convert the client’s existing homepage and present a redesigned version within Elementor in the same day, showcasing their capabilities and vision in a tangible, interactive format.
Prerequisites: What You’ll Need to Get Started
Before you begin, make sure you have the following three items ready. The process is straightforward, and having these in place will ensure a smooth workflow from start to finish.
- A DesignToCodeAI Account: If you’re a new user, you can sign up for free and receive 500 complimentary Power Points to run your first few conversions.
- The Public URL of the Website: Copy the full URL of the website page you wish to convert. Ensure it’s a live, publicly accessible page.
- A WordPress Installation: You’ll need a WordPress website with the Elementor (or Elementor Pro) plugin installed and activated to import and use the final template.
How to Convert a URL to an Elementor Template in 6 Steps
This tutorial will walk you through the complete process shown in the video, from entering the URL to downloading the final JSON file. Follow these steps to convert your first design.
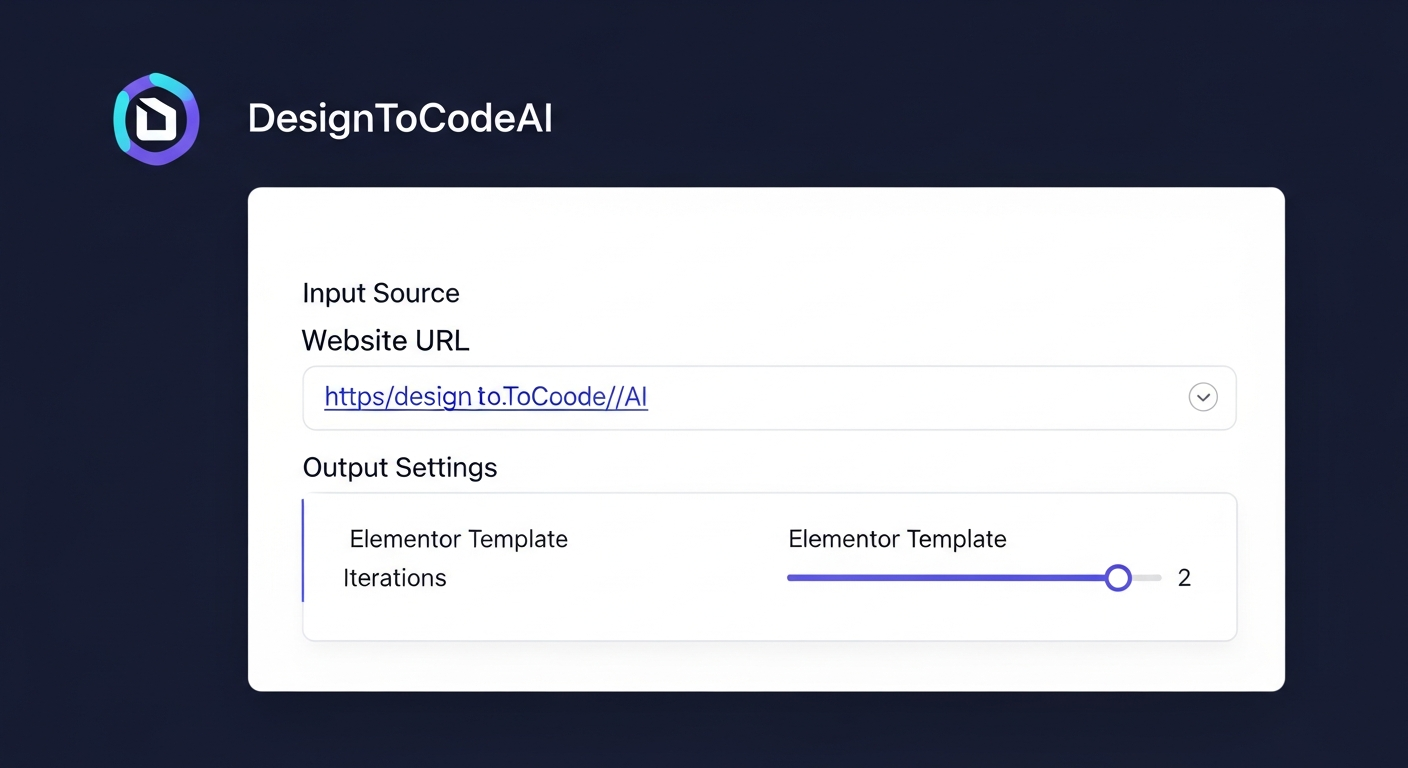
Step 1: Set Your Input Source to ‘Website URL’
Navigate to the DesignToCodeAI dashboard. In the ‘Input Source’ section, you will see options for ‘Upload Design’, ‘Figma URL’, and ‘Website URL’. Click on ‘Website URL’ to activate the correct input field. Paste the full URL of the website you want to convert into the text box provided.
Step 2: Configure Your Output Settings for Elementor
In the ‘Output Settings’ panel, you have two key choices. First, for the ‘Generate option’, select ‘Elementor Template’. This tells the AI to produce a .json file specifically formatted for Elementor. Next, choose the number of ‘Iterations’. An iteration is a pass the AI takes to analyze and refine the design. For simple pages, one iteration might suffice, but for more complex layouts, selecting 2 or 3 iterations is recommended for higher accuracy.
Step 3: Initiate the First AI Generation Pass
Once your settings are configured, click the ‘Generate’ button. The cost in Power Points will be displayed on the button. The system will begin processing the request. You can monitor the progress in the ‘Console’ window, which provides real-time logs of the AI’s actions, from initiating the request to processing each iteration.
Step 4: Review the Initial JSON Output and Preview
After the generation is complete, the raw JSON code of the Elementor template will appear in the ‘Output’ window. While you can inspect the code here, the most useful feature is the ‘Preview’ button. Clicking this opens a new tab that renders a live, interactive preview of how the template will look and feel, allowing you to assess the conversion accuracy instantly.
Step 5: Refine the Design Using Simple Text Prompts
If the preview isn’t quite right, you don’t need to start over. Below the output window, there is a refinement section. Here, you can type simple, natural language instructions to fine-tune the result. For example, you could type: “Make the hero section full-width and adjust the main button styling to be blue.” After entering your instructions, click the ‘Refine’ button to have the AI process your changes and generate an updated template.
Step 6: Preview, Download, and Export Your Final Template
Once you are satisfied with the refined preview, return to the dashboard. You can now click the ‘Download’ button. This will save the Elementor template to your computer as a .json file—a text file containing all the layout, widgets, and styling information needed for WordPress.
How to Import Your AI-Generated Elementor Template into WordPress
With your .json file downloaded, the final step is to bring it into your WordPress site. This process takes less than a minute and integrates the AI-generated design seamlessly into your Elementor workflow.
Navigating to the Elementor Template Library
Log in to your WordPress dashboard. In the left-hand menu, go to Templates > Saved Templates. This will open your Elementor template library.
Uploading Your Downloaded .json File
At the top of the Saved Templates page, click the ‘Import Templates’ button. A file selection window will appear. Choose the .json file you downloaded from DesignToCodeAI and click ‘Import Now’. Elementor will process the file, and your new template will appear in the library list.
Inserting and Customizing the Template on a New Page
Create a new page or post in WordPress and open it with the Elementor editor. On the blank canvas, click the grey folder icon to open the library. Go to the ‘My Templates’ tab, find your newly imported template, and click ‘Insert’. The entire design will be added to your page, ready for you to customize content, images, and settings using Elementor’s familiar interface.
Expert Tips for Achieving Pixel-Perfect Results
While the AI is powerful, you can achieve even better and faster results by following a few best practices. Incorporate these strategies into your workflow to maximize the quality of your conversions.
- Use High-Quality and Structurally Clear Source URLs: The AI works best with websites that have a clean, logical DOM structure (the underlying HTML code structure of the page).
- Leverage Multiple Iterations for Complex Designs: Don’t hesitate to use 2 or more iterations for visually dense pages. The extra processing time upfront often saves significant refinement time later.
- Write Clear and Specific Refinement Instructions: When providing refinement prompts, be as specific as possible. Instead of “fix the header,” try “Make the header navigation links bold and increase their font size to 16px.”
A key strategy for very long or complex landing pages is to convert them section by section. Take screenshots of individual sections (e.g., hero, features, testimonials, footer), and convert each image separately. This approach gives the AI a more focused task, often resulting in higher accuracy for each component, which you can then easily assemble on an Elementor page.
Common Pitfalls to Avoid
A common mistake businesses make is assuming the AI can do everything. Understanding its limitations is key to using it effectively.
- Pitfall 1: Using Dynamically-Rendered Websites: The AI performs best on sites with a clear HTML structure that’s present when the page loads. Sites that rely heavily on client-side JavaScript to render their main content may require more refinement, as the AI may not see the final layout.
- Pitfall 2: Expecting Complex Functionality to Transfer: Remember, the AI converts the visual layout and styling—the front-end design. Interactive elements like complex forms, animated sliders, or custom JavaScript effects are not transferred. These will need to be re-implemented using appropriate Elementor widgets or custom code.
- Pitfall 3: Converting an Entire Long Page at Once: While possible, converting a very long, complex page from a single URL can sometimes lead to inconsistencies. The recommended approach is to convert section-by-section using screenshots. This gives the AI a more focused context for each conversion, yielding cleaner, more accurate results that are easier to assemble.
Manual Rebuild vs. AI Conversion Workflow
To fully appreciate the impact of this technology, here is a comparison of a typical web development workflow done manually versus one augmented by DesignToCodeAI.
| Development Stage | Manual Rebuild Effort | DesignToCodeAI Effort |
|---|---|---|
| Layout Structure (Sections/Columns) | High – Hours of creating and configuring sections, columns, and containers. | Low – Fully automated in minutes. |
| Widget Placement & Styling | High – Manually adding and styling every heading, button, and image widget. | Low – Automated. Minor tweaks may be needed via refinement prompts. |
| Typography & Colors | Medium – Tedious process of finding and applying correct font families, sizes, and color codes. | Low – Automatically detected and applied. |
| Responsiveness Adjustments | Medium – Manually adjusting settings for tablet and mobile views. | Low – Base responsive structure is automatically generated. |
| Total Time Investment | Hours to Days | Minutes to an Hour |
Understanding the Technology: How the Multi-Agent AI System Works
DesignToCodeAI’s accuracy is rooted in its innovative multi-agent architecture. Instead of relying on a single, monolithic AI model, the platform delegates tasks to a team of specialized AI agents that work in concert. This mimics the workflow of a human development team.
- The Vision Agent: This agent first analyzes the visual layout of the source URL, identifying key structural elements, sections, containers, and design patterns.
- The Coder Agent: Based on the Vision Agent’s analysis, this agent writes the corresponding JSON structure, mapping visual elements to the appropriate Elementor widgets and settings.
- The Quality Assurance Agent: This agent reviews the generated code for errors, consistency, and adherence to best practices, flagging potential issues for correction.
- The Refinement Agent: When you provide a text prompt, this agent interprets your request and instructs the Coder Agent on what specific modifications to make to the JSON structure.
This collaborative process ensures a more robust, accurate, and reliable output than single-model approaches, resulting in cleaner and more production-ready templates.
Frequently Asked Questions
Here are answers to some common questions about converting website URLs to Elementor templates.
How accurate is the AI conversion from a URL to an Elementor template?
DesignToCodeAI aims for high accuracy by analyzing layout, styling, and components. While many outputs are nearly production-ready, complex or unconventional designs may require minor adjustments. The platform’s iteration and refinement features are designed to help you achieve a pixel-perfect result when you convert a website URL to an Elementor template.
What if I’m not satisfied with the generated Elementor template?
If the initial output isn’t perfect, it’s recommended to use the ‘Iterations’ setting for a more in-depth analysis or use the refinement text box with specific instructions like ‘Make the hero section full-width’ or ‘Change the primary button color to blue’. For technical issues, you can always contact our support team.
How does the points system work for conversions?
Each generation costs between 300 to 500 Power Points, depending on the number of iterations you select. New users receive 500 free points to start. You can purchase more points via different packs, and they do not expire. For a full breakdown, you can visit the Pricing page.
Are my uploaded URLs and generated code stored on your servers?
No. For privacy and security, DesignToCodeAI processes all data, including input URLs and generated code, in temporary memory. The data is not stored permanently and is cleared from the servers after your session ends or you refresh the page. Always be sure to save your downloaded JSON file.
By integrating AI-powered conversion into your workflow, you can reclaim valuable time, accelerate project delivery, and focus on the creative and strategic aspects of web design. The era of tedious manual rebuilds is over.
Ready to revolutionize your Elementor workflow? Try DesignToCodeAI for Free and convert your first website URL into a ready-to-use template today.