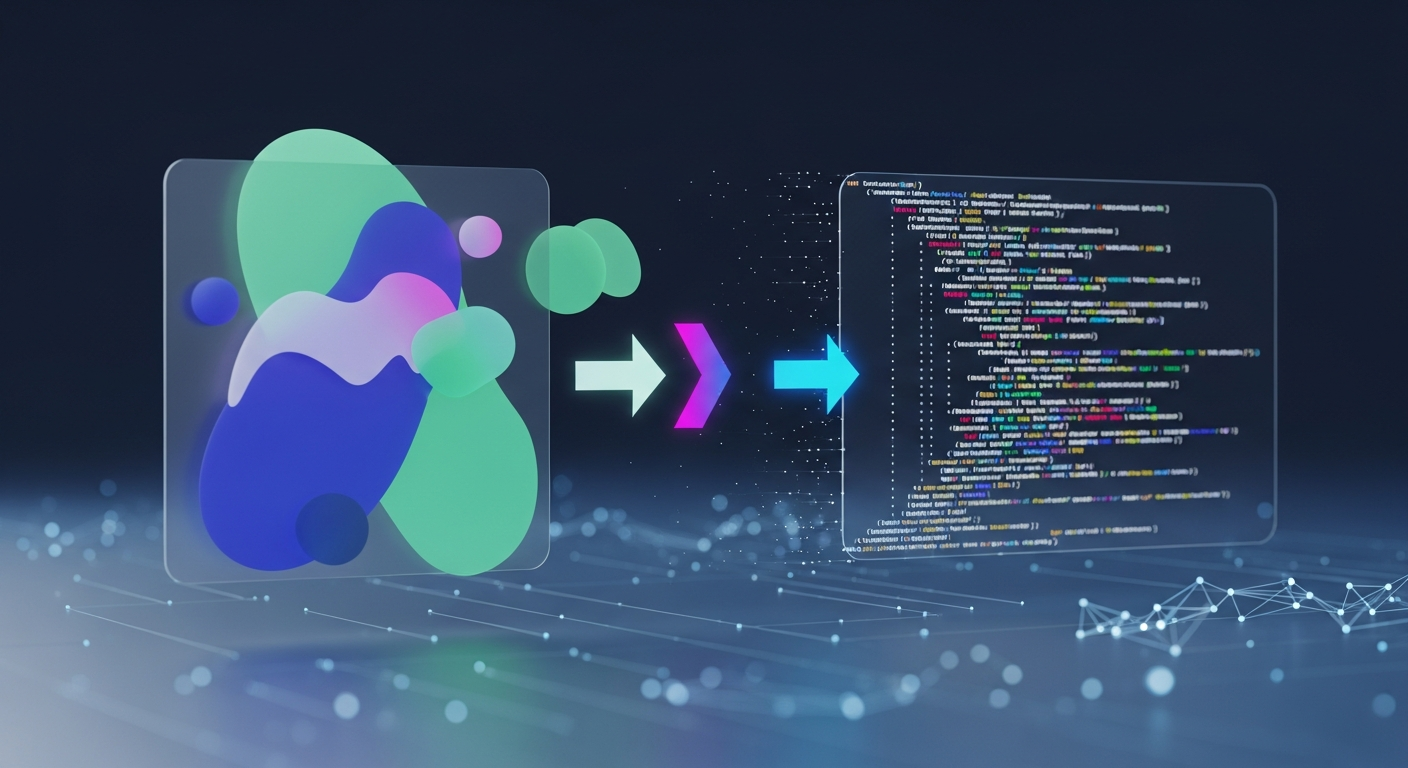
Turning a beautiful design concept from a tool like Figma, Sketch, or even a high-quality screenshot into a fully functional Elementor page can be a time-consuming and tedious process. Manually recreating every section, widget, and style setting is prone to error and can significantly slow down your development workflow. What if you could automate this entire process, creating an import-ready Elementor JSON file with pixel-perfect accuracy in a fraction of the time?
With the power of artificial intelligence, you can now directly convert a design to an Elementor template with remarkable precision. This guide provides a complete, step-by-step tutorial on using DesignToCodeAI to transform any design image, screenshot, or URL into a ready-to-use Elementor Template. Say goodbye to manual rebuilds and hello to an accelerated, AI-driven workflow that turns your vision into a live website in minutes.
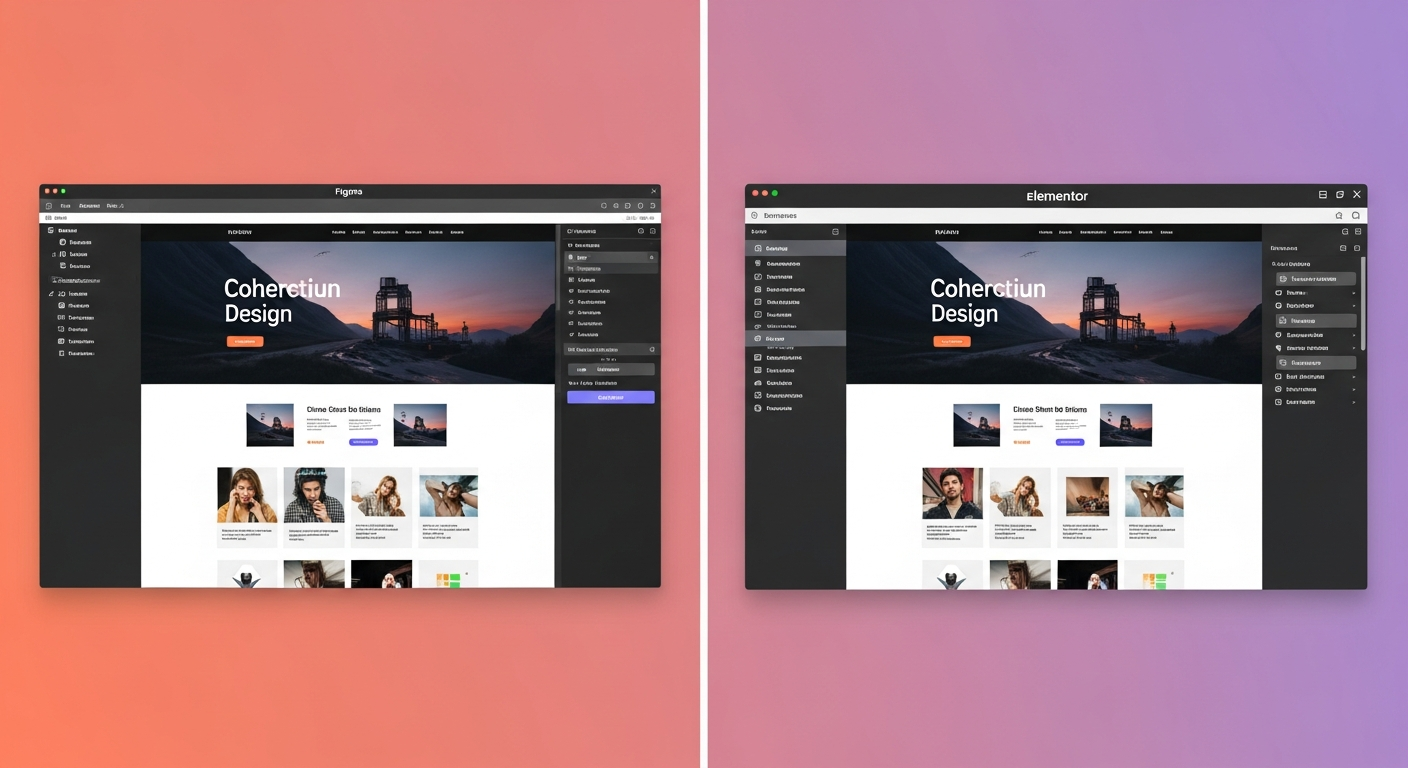
Table of Contents
- What is an Elementor Template JSON File?
- Step-by-Step Tutorial: Convert a Design to Elementor
- Expert Tips for Pixel-Perfect Conversions
- How Does the AI Conversion Technology Work?
- Supported Inputs: Beyond Simple Images
- Understanding the Points-Based Pricing System
- Is It Safe? Data Privacy and Design Security
- Frequently Asked Questions
What is an Elementor Template JSON File?
An Elementor Template JSON file is a text-based file that contains all the data, structure, and styling information for an Elementor page, section, or widget. JSON, which stands for JavaScript Object Notation, is a lightweight format for storing and transporting data. In the context of Elementor, this file acts as a complete blueprint of your design.
When you export a template from Elementor, it packages the layout (sections, columns), the widgets used, their content (text, images), and all their specific style settings (colors, fonts, spacing) into this single .json file. This makes your designs incredibly portable, allowing you to easily back up, share, or migrate complex layouts between different WordPress websites without having to rebuild them from scratch.
Step-by-Step Tutorial: Convert a Design to Elementor
Converting your design into an editable Elementor template is a straightforward process with DesignToCodeAI. Follow these five simple steps to take your static image and bring it to life inside the Elementor editor.
Step 1: Upload Your Design (from Screenshot, Figma, or URL)
First, ensure your design is saved as a high-quality image file. DesignToCodeAI accepts PNG and JPG formats up to 20MB. Whether you’re exporting from Figma or taking a screenshot of a web page, a clear and high-resolution source image is crucial for the AI to accurately analyze the details.
Navigate to the DesignToCodeAI platform. In the ‘Input Source’ section, you can either drag and drop your image file directly into the upload box or click to browse and select the file from your computer.
Step 2: Configure the AI Output Settings
With your design uploaded, turn your attention to the ‘Output Settings’ panel. Here, you will define what you want the AI to generate.
- Generate option: Select ‘Elementor Template’. This tells the AI to create a
.jsonfile specifically formatted for Elementor. - Iterations: Choose the number of refinement cycles for the AI. The recommended setting is 2, as more iterations can significantly improve accuracy by allowing the AI to self-correct its initial conversion. While this may take a bit longer, it often yields a more polished result.
Step 3: Initiate Generation and Export the JSON File
Once your settings are configured, click the ‘Generate’ button. The platform will begin processing your design. You can watch the progress in real-time via the console, which shows the AI agents at work. The process involves analyzing the layout, identifying components, writing the structure, and applying styles.
When the generation is complete, the output section will display the generated JSON code. You will see options to ‘Preview’, ‘Copy’, and ‘Download’. Click the ‘Download’ button to save the Elementor Template JSON file to your computer.
Step 4: Import Your New Template into WordPress
Log in to your WordPress dashboard and navigate to the Elementor Template Library. You can find this by going to Templates > Saved Templates. At the top of the page, click the ‘Import Templates’ button. Drag the .json file you just downloaded from DesignToCodeAI into the import window or select it from your computer. Elementor will process the file and add it to your library.
Step 5: Insert and Finalize Your Page in Elementor
Now, create a new page or open an existing one with the Elementor editor. Click the grey folder icon to open the template library, and go to the ‘My Templates’ tab. You will see your newly imported template in the list. Click ‘Insert’ to add it to your page. The entire design, with all its sections and widgets, will appear in the editor, ready for you to make any final adjustments or add content.
Expert Tips for Pixel-Perfect Conversions
To get the most accurate results from the AI, follow these professional tips. A little preparation goes a long way in ensuring your final Elementor template is as close to the original design as possible.
- Start with High-Resolution Source Images: The AI’s accuracy is directly related to the quality of the input. A blurry or low-resolution screenshot will make it difficult for the system to identify fonts, colors, and spacing correctly. Always use the highest resolution possible.
- Convert Complex Pages Section by Section: A key strategy to consider for long or complex landing pages is to crop your design into major sections (e.g., hero, services, testimonials, footer) and convert each one individually. This approach improves AI accuracy by allowing it to focus on a smaller set of components at a time and results in cleaner, more manageable templates within Elementor.
- Leverage AI Iterations for Fine-Tuning: Don’t underestimate the power of the ‘Iterations’ setting. Selecting 2 or 3 iterations allows the AI to review its own work and make corrections, often resolving minor layout or styling issues automatically.
- Provide Clear Instructions for Complex Elements: For designs with unique or non-standard elements, use the text prompt area to give the AI additional context. For example, you could instruct it to ‘make the hero section full width and adjust button styling,’ guiding it toward a more precise output.
Common Pitfalls and How to Avoid Them
Experienced developers know that preparation is key. Here are common issues that can affect AI conversion accuracy and how to prevent them:
- Overlapping or Complex Layers: Designs created in tools like Figma with many overlapping, transparent, or complexly grouped layers can be challenging for any AI to interpret perfectly. Before exporting your image, consider simplifying these areas or flattening complex groups into a single layer to ensure the AI sees the final intended visual.
- Non-Standard Fonts: The AI is excellent at identifying font families and styles, but it cannot provide the font files themselves. If your design uses custom or premium fonts, ensure you have them ready to upload to Elementor’s Custom Fonts feature (available in Elementor Pro) for a perfect match.
- Vague Design Elements: Blurry screenshots or low-quality JPGs can lead to incorrect color codes (#HEX), inconsistent spacing, or misinterpreted icons. For the best results, always export your designs from tools like Figma or Sketch at a 2x resolution to provide the AI with a crisp, unambiguous source to analyze.
How Does the AI Conversion Technology Work?
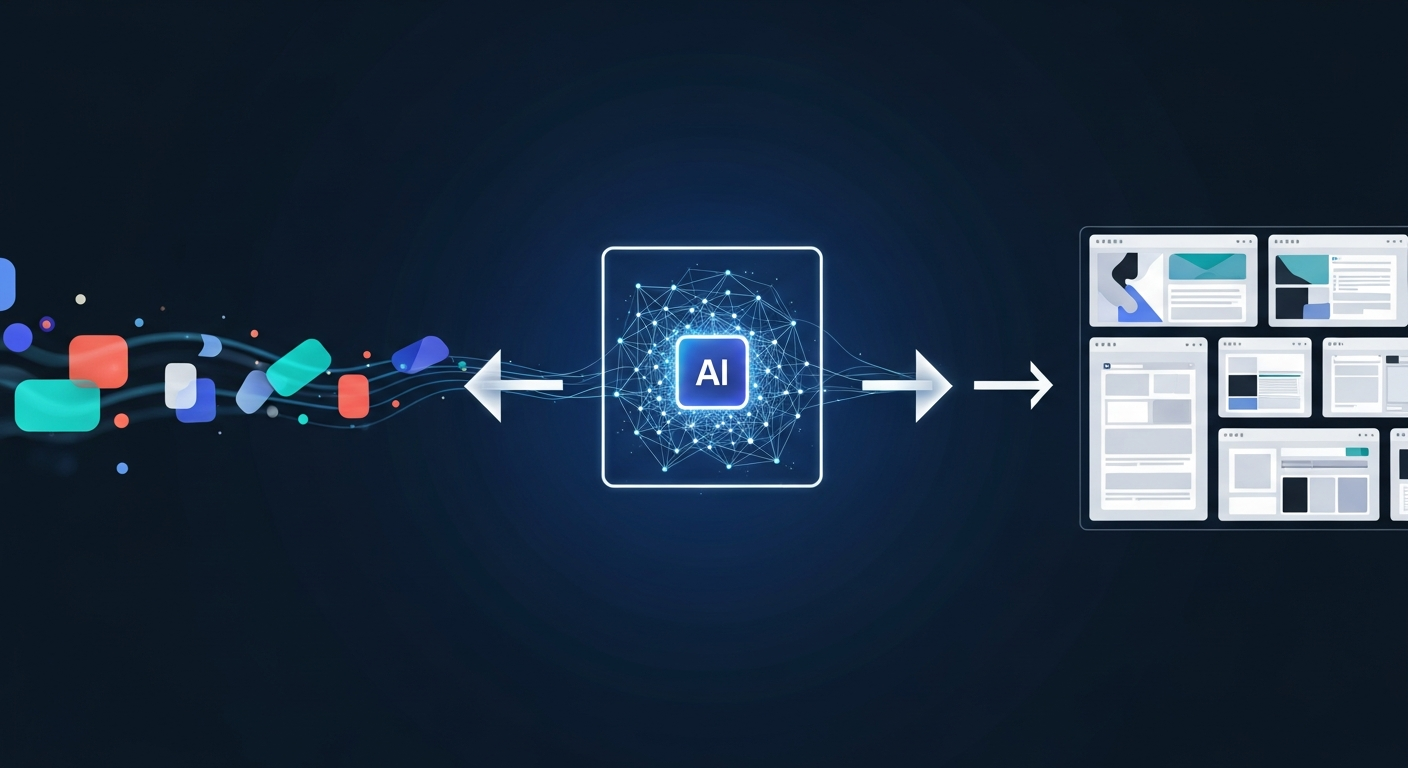
DesignToCodeAI’s platform is powered by a proprietary multi-agent AI system, which functions like a specialized team of developers working in perfect sync. Our system isn’t a single AI; it’s a team of specialized agents collaborating on the conversion.
A Layout Recognition Agent first deconstructs the design’s visual hierarchy, identifying the core structure of sections, columns, and containers. Then, a Widget Mapping Agent intelligently matches visual components to the optimal Elementor widgets (e.g., identifying a hero unit and using a Section with a background image and Heading/Button widgets). Finally, a Styling Agent meticulously extracts CSS properties like colors, typography, and spacing to ensure the final output maintains visual fidelity with your original design.
This collaborative process ensures the generated code is not only visually accurate but also structurally sound. The AI produces responsive layouts using modern CSS (flexbox and grid) and semantic HTML, which is crucial for good performance on all devices and for search engine optimization (SEO).
Supported Inputs: Beyond Simple Images
While uploading a PNG or JPG is the most common method, DesignToCodeAI offers flexible input options to fit different workflows for creating an AI Elementor template.
- PNG and JPG Screenshots: The standard for converting any visual design, whether from a design tool or an existing website.
- Figma URLs: For designers working in Figma, you can provide a public URL to your design file, streamlining the process without needing to export images first.
- Website URLs: A powerful feature for redesign projects. You can input an existing website’s URL, and the AI will analyze its structure and styling to generate a new Elementor template. This is perfect for modernizing an old site or drawing inspiration from a competitor.
Understanding the Points-Based Pricing System
DesignToCodeAI uses a flexible, pay-as-you-go model with Power Points, eliminating the need for monthly subscriptions. You only pay for what you use. Each generation costs between 300 and 500 points. The number of points used varies based on complexity and selected iterations. A simple section might use fewer points, aligning with the starter pack’s estimate for standard conversions, while a complex, multi-iteration generation can use up to 500 points. New users receive 500 free points upon signup to test the platform.
Here is a breakdown of the available Point Packs:
| Pack Name | Price | Power Points | Estimated Conversions | Key Features |
|---|---|---|---|---|
| Starter Pack | $12.00 | 1,500 | ~15 standard conversions | Elementor JSON & HTML/CSS/JS, Website URL support, Redesign functionality |
| Pro Pack | $25.00 | 4,000 | ~40 standard conversions | All features of Starter Pack + Priority email support |
| Power Pack | $55.00 | 16,000 | ~160 standard conversions | All features of Pro Pack + Priority email/chat support |
For more details, you can always visit the Pricing page.
Is It Safe? Data Privacy and Design Security
Security and intellectual property are paramount in web development. DesignToCodeAI is built with a privacy-first approach. Your uploaded designs and the generated code are never stored permanently on the servers. The entire conversion process happens in-memory and is automatically cleared from the system after your session ends or you refresh the page.
A critical oversight developers make is using AI tools without verifying their data handling policies. DesignToCodeAI’s in-memory processing model is a key security differentiator, ensuring that client designs and proprietary IP are never written to disk. This ephemeral approach mitigates significant data privacy risks inherent in tools that store user data long-term.
This ensures your proprietary designs remain confidential and secure. For a full breakdown of data handling, you can review the company’s Privacy Policy.
Frequently Asked Questions
What types of design files can I convert to an Elementor template?
You can upload design images or screenshots in PNG or JPG format, with a maximum size of 20MB. This allows you to export designs from tools like Figma, Sketch, or Adobe XD and upload them directly for conversion.
How accurate is the AI conversion to Elementor?
DesignToCodeAI uses a sophisticated multi-agent AI to analyze layout, styling, and components, aiming for high accuracy. While most outputs are production-ready, very complex designs might require minor tweaks within the Elementor editor. Using multiple iterations can improve the result.
Is the generated Elementor template responsive?
Yes, the AI is designed to produce responsive layouts using modern CSS principles like flexbox and grid. It structures the content semantically, which also benefits SEO by providing a clear content hierarchy for search engines.
What should I do if my design is very long or complex?
For best results with complex or multi-section designs, it is recommended to convert each major section separately. This improves the AI’s accuracy, results in cleaner widget mapping, and gives you more flexibility when assembling and editing the page inside Elementor.
Are my uploaded designs and generated JSON files stored on your servers?
No. DesignToCodeAI prioritizes your privacy. Neither your uploaded design files nor the generated code are stored on our servers. All data is processed temporarily in-memory during your session and is cleared when you refresh the page or end your session.
How many points does it cost to generate one Elementor template?
A single generation typically costs between 300 to 500 Power Points, depending on the number of AI iterations you select. New users receive 500 free points to try the service.
By leveraging AI, you can fundamentally change how you build websites with Elementor, saving countless hours and bridging the gap between creative vision and technical implementation. This technology empowers designers, developers, and agencies to build higher-quality websites faster than ever before.
Ready to stop the manual rebuilds and accelerate your workflow? Try It Free and use your 500 complimentary points to convert your first design to an Elementor template today.