The Elementor Powerhouse Meets AI Automation
Elementor has revolutionized WordPress web design, empowering millions to build stunning websites without touching a line of code. Its intuitive drag-and-drop interface is unparalleled for flexibility. However, bringing highly custom, pixel-perfect designs created in tools like Figma or Sketch into Elementor can still involve significant manual effort – dragging, dropping, and styling individual widgets.
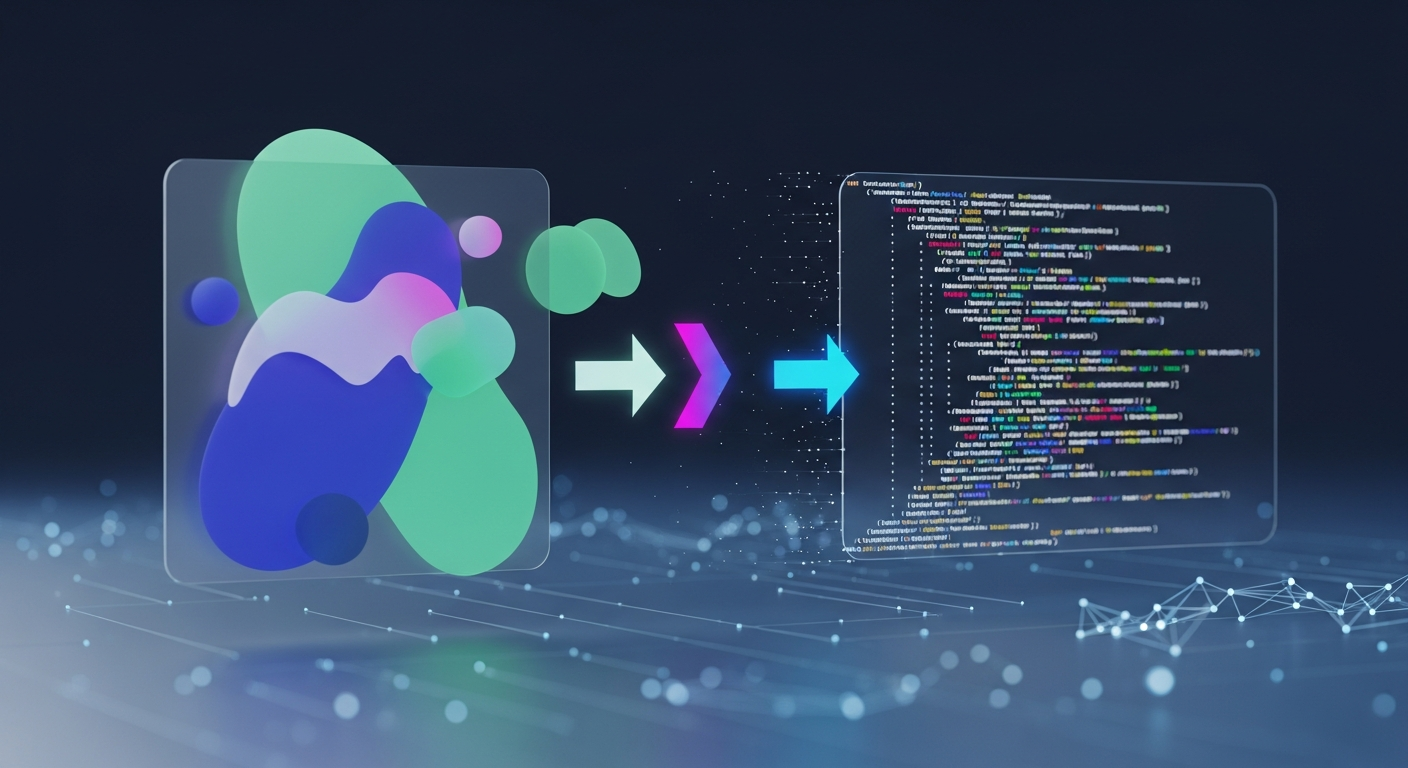
What if you could bypass this manual reconstruction and directly import your custom design as a fully structured Elementor layout? With DesignToCodeAI, you can. Our cutting-edge platform allows you to convert design to Elementor template JSON in minutes, dramatically speeding up your WordPress development workflow.
The Elementor Workflow Challenge for Custom Designs
While Elementor excels at visual building, translating a pre-designed layout (e.g., from a client’s Figma file) into Elementor sections and widgets still requires:
- Manual Reconstruction: Dragging widgets, setting margins, padding, and styles one by one.
- Fidelity Issues: It’s easy to miss precise pixel alignment or font sizes when recreating designs manually.
- Time Consumption: Rebuilding complex sections, especially responsive ones, can be tedious.
- Maintenance: Ensuring consistency across many pages built from the same design can be challenging.
These steps, while familiar, can slow down agencies and freelancers who handle many custom WordPress projects.
Why Convert Design to Elementor Template JSON?
Generating Elementor JSON directly from your design provides immense advantages:
- Unmatched Speed: Deploy custom Elementor pages significantly faster.
- Pixel-Perfect Precision: The AI interprets your design elements and translates them directly into Elementor-compatible structures, minimizing visual discrepancies.
- Streamlined Collaboration: Designers can hand off visual mockups that developers can almost instantly import into Elementor.
- Reduced Manual Errors: Automating the conversion process minimizes human error in layout and styling.
- Scalability: Efficiently produce multiple pages or sections from a single design concept.
DesignToCodeAI: Your Direct Path to Elementor Perfection
DesignToCodeAI is specifically engineered to understand complex visual designs and output them in Elementor JSON. This means you can take any design screenshot – whether it’s from Figma, Sketch, Photoshop, or another visual tool – and have our AI transform it into an Elementor-ready template file.
Our AI’s deep learning capabilities enable it to discern individual elements, their relationships, and styling properties, then translate them into the structural format Elementor understands. This isn’t just about images; it’s about intelligent, structured Elementor data.
How DesignToCodeAI Converts Your Design to Elementor Template (A Step-by-Step Guide)
Integrating DesignToCodeAI into your Elementor workflow is straightforward:
- Upload Your Design: Capture a screenshot of your design (JPG or PNG) from any tool you use – be it Figma to Elementor, Sketch, or Photoshop. Upload it to our platform.
- Generate Elementor Template JSON: Select “Elementor” as your desired output format. Our powerful AI conversion system will analyze your design and generate the corresponding Elementor template data. Get an instant preview of how your design translates.
- Refine & Download: Preview the generated code to ensure it meets your expectations. For fine-tuning, you can either run additional AI iterations for enhanced accuracy or instruct our AI via chat to make specific layout or styling adjustments. Once perfected, download the Elementor JSON file. You can then simply import this file into your Elementor page builder on your WordPress site, and your design will magically appear!
Key Benefits for Elementor Users and WordPress Professionals
- Rapid Prototyping: Quickly test design concepts directly within Elementor.
- Consistent Design: Ensure every page built from your AI-converted design maintains perfect fidelity.
- Time-Saving: Eliminate hours of manual drag-and-drop and styling for custom designs.
- Empowers Non-Coders: Designers can generate Elementor templates without needing deep Elementor expertise or coding knowledge.
- Scalable Solutions: Efficiently build a library of custom Elementor sections and templates.
- Cost-Effective: Reduce the labor involved in complex Elementor page building.
Conclusion: Unlock New Possibilities for WordPress Design
The ability to convert design to Elementor template JSON with AI is a game-changer for anyone building on WordPress. DesignToCodeAI provides an intelligent, efficient, and precise solution that saves time, reduces effort, and elevates your design-to-development workflow. Stop painstakingly recreating designs in Elementor and start transforming them instantly.
Ready to accelerate your Elementor projects? Try Design to Code AI and get your Elementor Template JSON now!